Learn how to take in-person payments with a physical reader and Terminal in your iOS app

This project is deprecated and is no longer being actively maintained.
🚀 Rocket Rides Pilot App
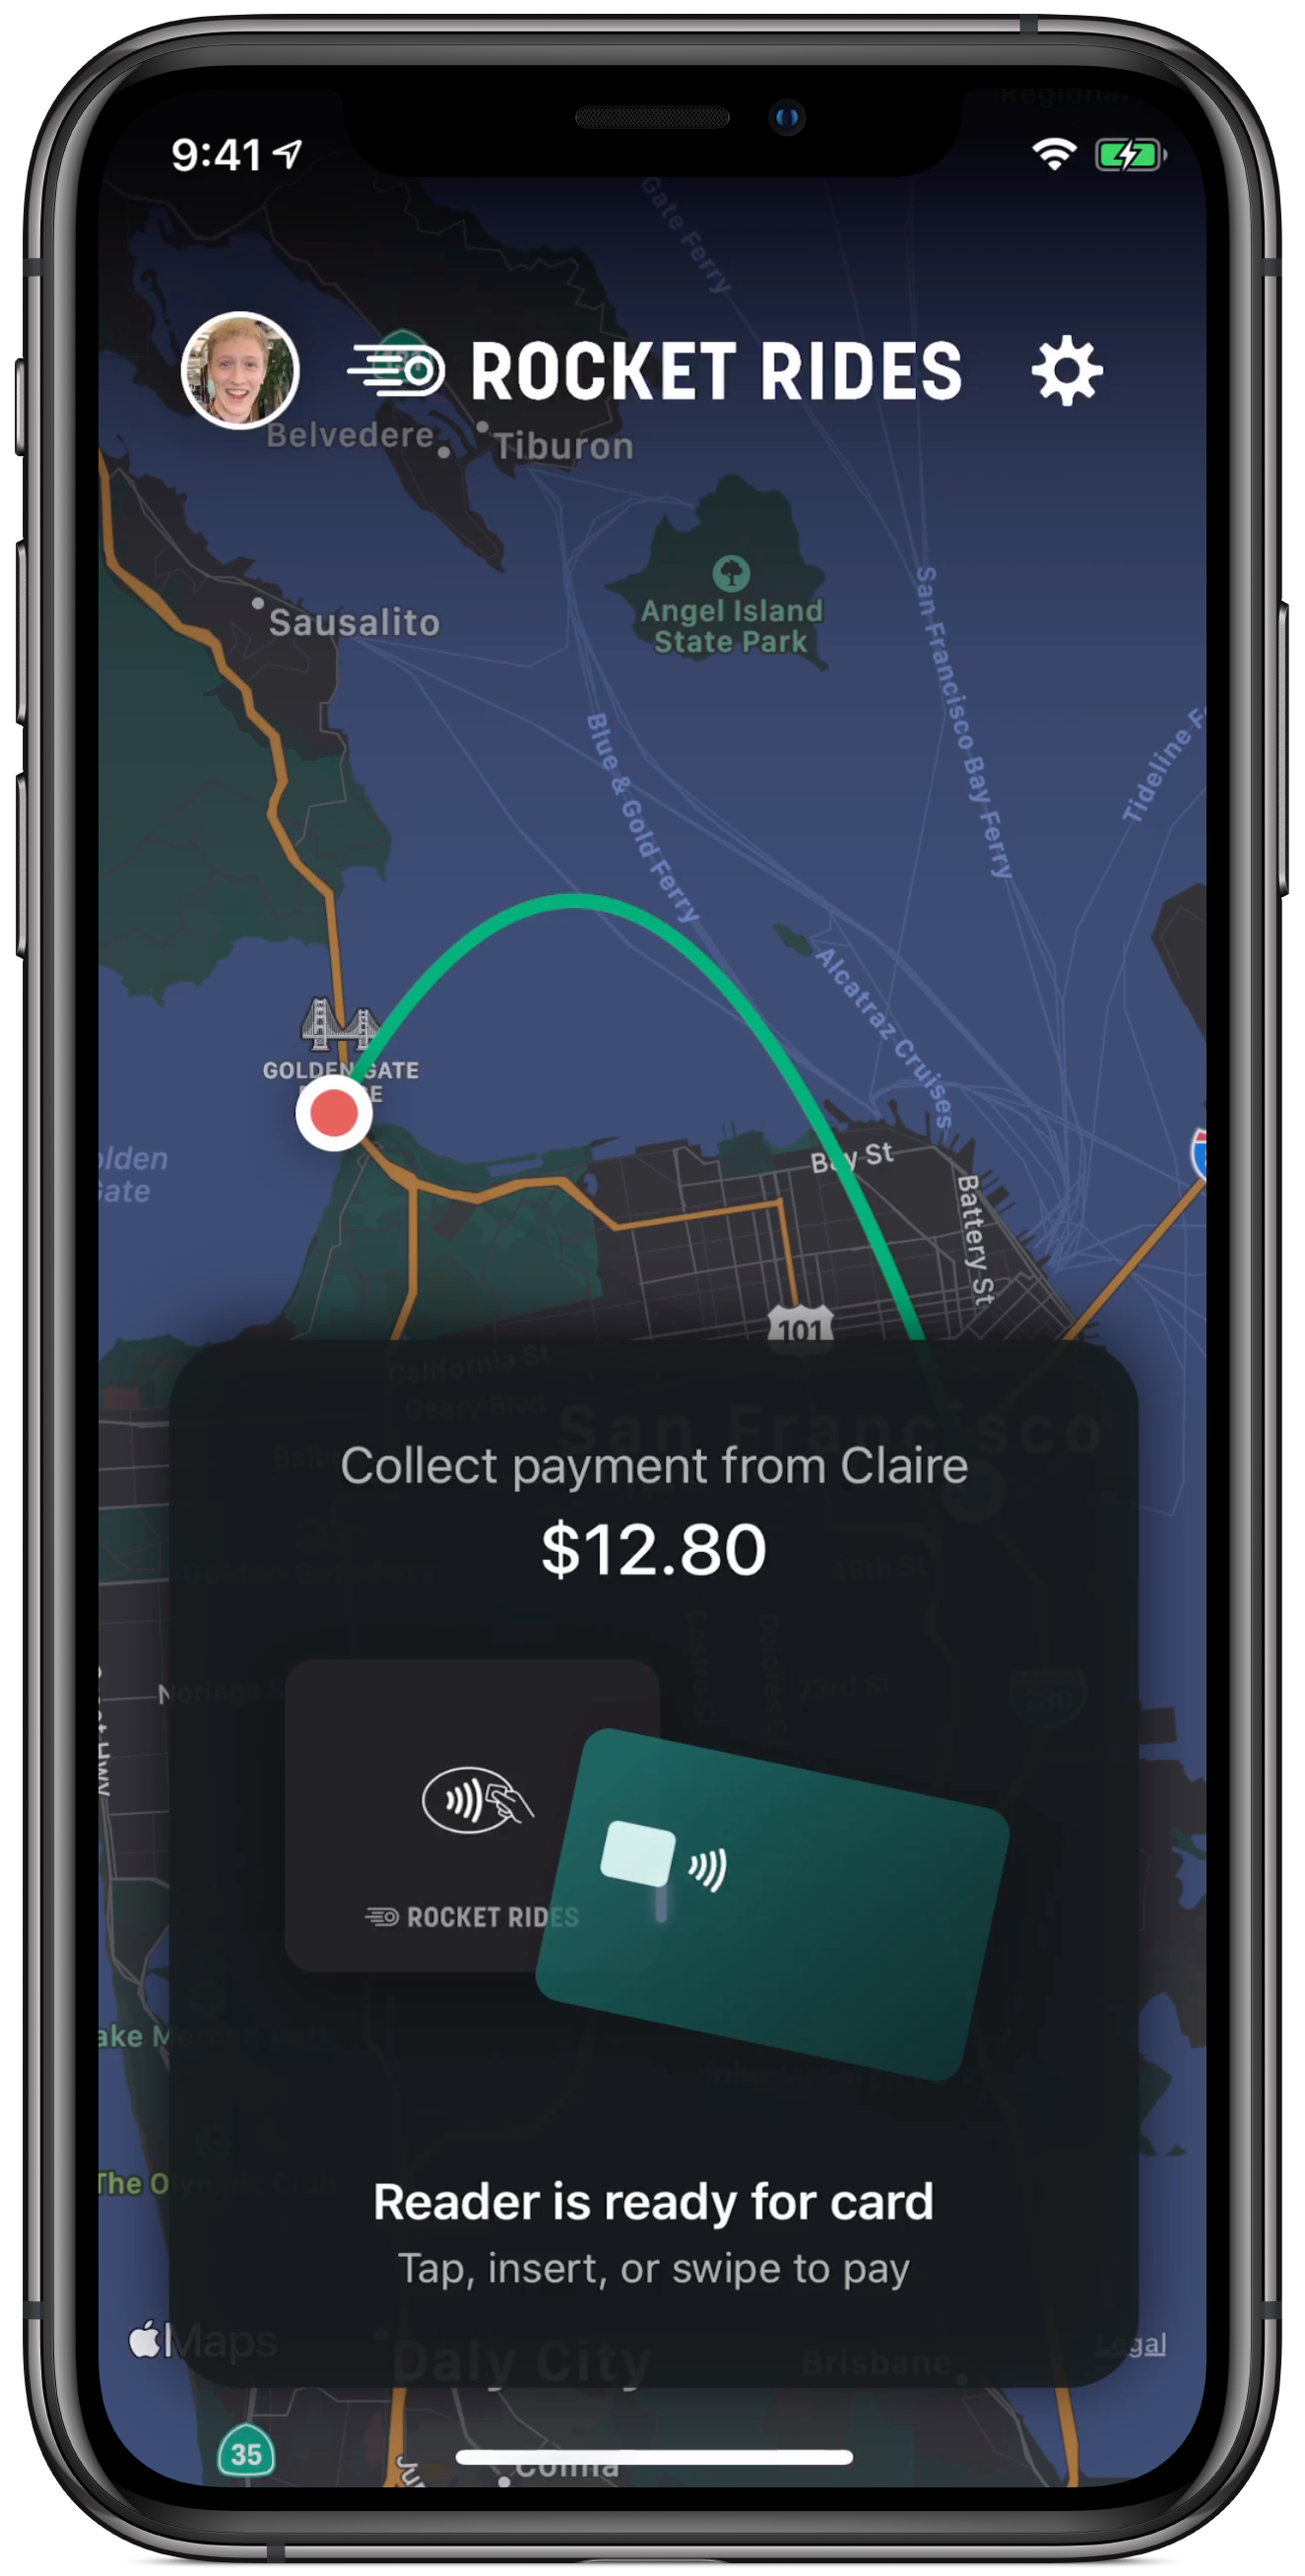
The Rocket Rides Pilot App is a sample iOS app that demonstrates a checkout flow with Stripe Terminal.
Features of the Rocket Rides Pilot app:
- Automatically reconnects to the last-connected reader, if that reader is available
- Asynchronously displays reader connection status in the application header
- Implements a robust reader UI using two labels: one displaying reader status and another displaying instructions to the customer.
- Manages the payment flow from start to end, giving operators the ability to retry a payment if some part of the payment fails.
- Protects users from running into SDK errors, such as disconnecting the reader while collecting a payment or running multiple of the same operations at once.
Exploring the Code
RRTerminalDelegate.swift is the main link between the Stripe Terminal iOS SDK and the app’s UI. This singleton manages discovery state, connection state, and payment state, and implements the DiscoveryDelegate and TerminalDelegate protocols. The RRTerminalDelegate calls methods in PayCardViewController.swift, MapHeaderViewController.swift, and ReaderConnectionViewController, which are the UIViewControllers responsible for displaying payment state, connection state, and discovery state respectively.
Rocket Rides is a fake ridesharing platform built to demonstrate different parts of the Stripe payments stack. It is not a real product.
You might also be looking for the rider app, which demoes Stripe Connect, Connect Express, and the Stripe iOS SDK. That’s in a different repository: see it here.
Build and Run
We’ve made it quick to get started with the Rocket Rides Pilot app so you can see Stripe Terminal in action.
This project is written in Swift and requires Xcode 11.1 or later to build and run. This project uses CocoaPods to install the dependencies. The app is compatible with iOS 13.1+.
Step 1: Create a Stripe account if you don’t have one; otherwise, log into your Stripe account. You’ll need to get your test mode secret key in the next step.
Step 2: Deploy the Example Terminal Backend
Step 3: In this project’s directory, install the dependencies using CocoaPods:
$ pod install
Step 4: Open rocketrides-pilot.xcworkspace —not rocketrides-pilot.xcodeproj— in Xcode 11.1 or later.
Step 5: Open APIClient.swift, then, around line 20, replace the example backend URL with your backend URL from Step 2:
static let baseURL = URL(string: "<https://example.herokuapp.com>")
Step 6: Build and run the app in your favorite iPhone simulator.
Debugging: If the app stays on the Map screen without loading the trip overview:
The pilot app needs to be able to detect your current location in order to begin the ride. Sometimes the iOS simulator won't properly find a location, nor will it report that a location can't be found. If this happens, click on Debug → Location → Apple in the menu bar to force the simulator to locate itself.Optional Step 7—If you have a BBPOS Chipper 2X BT: The Rocket Rides Pilot app uses the simulated card reader by default. If you want to configure the app to discover real card readers, you can change the discover configuration near line 30 of RRTerminalDelegate.swift:
static let config = DiscoveryConfiguration(deviceType: .chipper2X,
                                      discoveryMethod: .bluetoothProximity,
                                            simulated: true) // change to false!
Credits
- Code: James Little
- Design: Ryo Lu