Single sign-On authorization server and clients implemented in Node.js
A simple implementation of single sign-on (SSO) central authorization unit and client in 500 lines of Node.js
Important
To Run these examples you need to add the below entry inside your /etc/hosts file in linux
127.0.0.1   sso.ankuranand.com
127.0.0.1   consumer.ankuranand.in
Introduction
The web application uses the browser/server architecture, HTTP as the communication protocol. HTTP is a stateless protocol. Each time the browser requests, the server processes it independently and does not associate with the previous or subsequent request. But it also means that any user can access the server resources through the browser. If you want to protect some resources of the server, you must restrict the browser request; to limit the browser request, you must authenticate the browser request, respond to the legitimate request, ignore Illegal request; to authenticate a browser request, you must be aware of the browser request status. Since the HTTP protocol is stateless, so we let the server and browser maintain a state together, using the mechanism such as ‘Cookies’ or ‘Sessions’ or ‘JWT’.
When we have a single system the state mechanism, through the the login authentication is easy to maintain. But when a single system evolves into multiple system, how do we maintain the state of each individual system, do users have to log in one by one and then log out one by one?
The golden rule of the good users solution is that, the growing complexity of your architecture should be borne by the system rather than the user. No matter how complex the internals of the web system is, it is a unified whole for the users. That is to say, the entire application group of the user accessing the web system is the same as accessing a single system.
So how do we write the system using single-system login solution?
Remember the Good old ‘Cookies’ solution, but then we hit domain restriction of the cookie street, until we unified the domain names of all subsystems in the web application group under a top-level domain name.
But then, Microservices ate the Cookies
People started using different technologies to build their services sometime utilizing different domains too, where key value of the cookie (JSESSIONID in Java) is different than (session in Node.js), and suddenly the session was not easier to be maintained.
And, we all started building a new login method to enable login for multi-system application groups. This is single sign-on.
Single Sign-On(SSO)
The basic working principle on which SSO works is you can log in to a system in a multi-system application group and be authorized in all other systems without having to log in again, including single sign-on and single sign-off.
Going forward we are going to write the same for us, for learning perspective.
Enterprise solutions needs much more efforts than what we we are going to put😅. That’s a sole reason Enterprise solutions are in business.
So how do we login using SSO?
At the Heart ❤️ of SSO we have a single independent authentication server, which can accept security information such as user’s email, username and password. Other systems do not provide login access and only accept indirect authorization from the authentication server. The indirect authorization is implemented using the token.
I’m going to use node.js for the code, but you can use any technology the implement the basic principle of the SSO.
1. The user accesses the protected resource of system “sso-consumer”. “sso-consumer” finds that the user is not logged in, jumps to the “sso-server”, using his own address as a parameter.
We are going to build the express.js middleware to check the same for our request.
const isAuthenticated = (req, res, next) => {
  // simple check to see if the user is authenicated or not,
  // if not redirect the user to the SSO Server for Login
  // pass the redirect URL as current URL
  // serviceURL is where the sso should redirect in case of valid user
  const redirectURL = `${req.protocol}://${req.headers.host}${req.path}`;
  if (req.session.user == null) {
    return res.redirect(
      `http://sso.ankuranand.com:3010/simplesso/login?serviceURL=${redirectURL}`
    );
  }
  next();
};

module.exports = isAuthenticated;
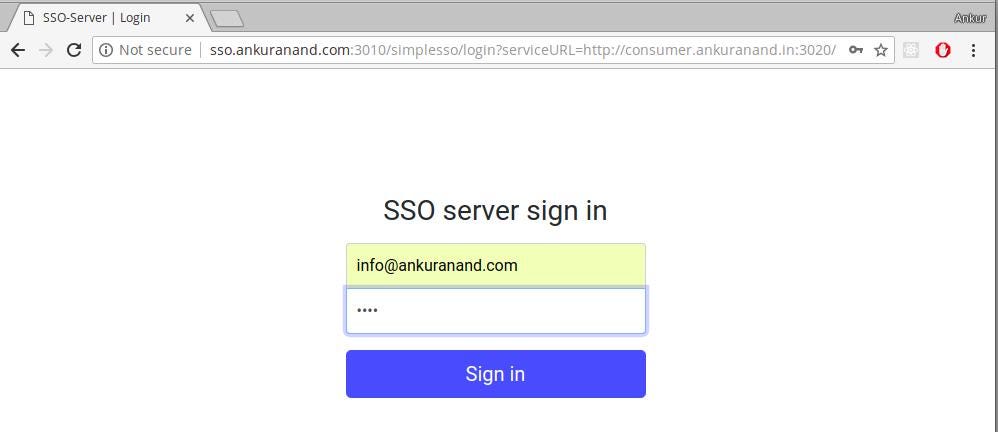
2. The SSO authentication server finds that the user is not logged in and directs the user to the login page.
const login = (req, res, next) => {
  // The req.query will have the redirect url where we need to redirect after successful
  // login and with sso token.
  // This can also be used to verify the origin from where the request has came in
  // for the redirection
  const { serviceURL } = req.query;
  // direct access will give the error inside new URL.
  if (serviceURL != null) {
    const url = new URL(serviceURL);
    if (alloweOrigin[url.origin] !== true) {
      return res
        .status(400)
        .json({ message: "Your are not allowed to access the sso-server" });
    }
  }
  if (req.session.user != null && serviceURL == null) {
    return res.redirect("/");
  }
  // if global session already has the user directly redirect with the token
  if (req.session.user != null && serviceURL != null) {
    const url = new URL(serviceURL);
    const intrmid = encodedId();
    storeApplicationInCache(url.origin, req.session.user, intrmid);
    return res.redirect(`${serviceURL}?ssoToken=${intrmid}`);
  }

  return res.render("login", {
    title: "SSO-Server | Login"
  });
};
Extra Security Pointers:
We are checking if the serviceURL that has came as query to the ‘sso-server’ has been registered to use the sso-server’ or not.
    const alloweOrigin = {
    "http://consumer.ankuranand.in:3020": true,
    "http://consumertwo.ankuranand.in:3030": true,
    "http://test.tangledvibes.com:3080": true,
    "http://blog.tangledvibes.com:3080": fasle,
    };
3. User enters username and password to submit login request.
4. The SSO authentication server verifies the user information and creates a session between the user and the sso authentication server. **This is called a global session and creates an authorization token. **The authorization token is a string of random characters. It doesn’t matter how it is generated. As long as it is not repeated and not easy to forge,
5. The SSO authentication server takes the authorization token to jump to the initial request address (system “sso-consumer”).
const doLogin = (req, res, next) => {
  // do the validation with email and password
  // but the goal is not to do the same in this right now,
  // like checking with Datebase and all, we are skiping these section
  const { email, password } = req.body;
  if (!(userDB[email] && password === userDB[email].password)) {
    return res.status(404).json({ message: "Invalid email and password" });
  }

  // else redirect
  const { serviceURL } = req.query;
  const id = encodedId();
  req.session.user = id;
  sessionUser[id] = email;
  if (serviceURL == null) {
    return res.redirect("/");
  }
  const url = new URL(serviceURL);
  const intrmid = encodedId();
  storeApplicationInCache(url.origin, id, intrmid);
  return res.redirect(`${serviceURL}?ssoToken=${intrmid}`);
};
Extra Security Pointers:
- Always consider this token as intermediate token and exchange the real data using this token.
- If you are using JWT as the intermediate token please avoid sharing any critical data over this JWT.*
6. The ‘sso-consumer’ gets the token and goes to the ‘sso-server’ authentication to check if the token is valid.The ‘SSO-SERVER’ verifies the token and return another token with user information to the “sso-consumer”. The “sso-consumer” uses this token to create a session with the user. This session is called local session.
Here is a brief sso-consumer middle-ware inside the “sso-consumer” application, built using the ‘express.js’
const ssoRedirect = () => {
  return async function(req, res, next) {
    // check if the req has the queryParameter as ssoToken
    // and who is the referer.
    const { ssoToken } = req.query;
    if (ssoToken != null) {
      // to remove the ssoToken in query parameter redirect.
      const redirectURL = url.parse(req.url).pathname;
      try {
        const response = await axios.get(
          `${ssoServerJWTURL}?ssoToken=${ssoToken}`,
          {
            headers: {
              Authorization: "Bearer l1Q7zkOL59cRqWBkQ12ZiGVW2DBL"
            }
          }
        );
        const { token } = response.data;
        const decoded = await verifyJwtToken(token);
        // now that we have the decoded jwt, use the,
        // global-session-id as the session id so that
        // the logout can be implemented with the global session.
        req.session.user = decoded;
      } catch (err) {
        return next(err);
      }

      return res.redirect(`${redirectURL}`);
    }

    return next();
  };
};
After the request from the sso-consumer , the sso-server checks the token to find out whether the token exists and expires. The token verification succeeds.
The SSO-Server in our case we are going to return a signed JWT with user information, after successful validation.
const verifySsoToken = async (req, res, next) => {
  const appToken = appTokenFromRequest(req);
  const { ssoToken } = req.query;
  // if the application token is not present or ssoToken request is invalid
  // if the ssoToken is not present in the cache some is
  // smart.
  if (
    appToken == null ||
    ssoToken == null ||
    intrmTokenCache[ssoToken] == null
  ) {
    return res.status(400).json({ message: "badRequest" });
  }

  // if the appToken is present and check if it's valid for the application
  const appName = intrmTokenCache[ssoToken][1];
  const globalSessionToken = intrmTokenCache[ssoToken][0];
  // If the appToken is not equal to token given during the sso app registraion or later stage than invalid
  if (
    appToken !== appTokenDB[appName] ||
    sessionApp[globalSessionToken][appName] !== true
  ) {
    return res.status(403).json({ message: "Unauthorized" });
  }
  // checking if the token passed has been generated
  const payload = generatePayload(ssoToken);

  const token = await genJwtToken(payload);
  // delete the itremCache key for no futher use,
  delete intrmTokenCache[ssoToken];
  return res.status(200).json({ token });
};
Extra Security Pointers:
- Inside “sso-server” register each application that’s going to use the sso-server for authentication and give them some sort of verification header while making a request. This establishes a better security between consumer and “sso-server”.
- You can also generate different “private” and “public” rsa file for each application and let each application verify their JWT with their respective Public Key at the consumer side.*
You can also define application-level policy at the centralized place.
const userDB = {
  "info@ankuranand.com": {
    password: "test",
    userId: encodedId(), // incase you dont want to share the user-email.
    appPolicy: {
      sso_consumer: { role: "admin", shareEmail: true },
      simple_sso_consumer: { role: "user", shareEmail: false }
    }
  }
};
After the user logs in successfully, a session is established with the “sso authentication server” and each consumer subsystem. The session established between the user and the “sso authentication server” is called a global session. The session established between the user and each “consumer subsystem” is called a local session. After the local session is established, the user can access the consumer subsystem protected resources.
“Local session” and “Global session” both are established.
Brief look at the functions that sso-client and sso-server that we’ve implemented.
SSO-Consumer
- The sso-consumer subsystem does not log in to the user request and jumps to the sso server for authentication.
- Receive the token sent by the sso authentication server.
- Communicate with sso-server to verify the validity of the token.
- Receives a JWT, verifies the JWT using the public key.
- Establish a local session
Sso-server
- Verify the user’s login information.
- Create a global session.
- Create an authorization token.
- Send a token with sso-client communication.
- Verify sso-client token validity.
- Send a JWT with the user information.
In summary, there are many options for system integration single sign-on solutions, each of which has its own advantages and adaptation environment. Building one from scratch is an iterative project that needs to analyze the characteristics of each system, including login methods, user information storage and synchronization, etc., and cannot blindly rely on the single way to solve the problem.
Similarly we can implement the “Logout”, just we need to consider these three relationship in mind while writing the “Logout” Functionality.
- Local session exists, global session must exist.
- Global session exists, local session does not necessarily exist.
- Global session is destroyed, local session must be destroyed.