A brief computer graphics / rendering course
Tiny Renderer or how OpenGL works: software rendering in 500 lines of code
Check the wiki for the detailed lessons.
compilation
git clone https://github.com/ssloy/tinyrenderer.git &&
cd tinyrenderer &&
cmake -Bbuild &&
cmake --build build -j &&
build/tinyrenderer obj/diablo3_pose/diablo3_pose.obj obj/floor.obj
The rendered image is saved to framebuffer.tga.
You can open the project in Gitpod, a free online dev environment for GitHub:

On open, the editor will compile & run the program as well as open the resulting image in the editor’s preview.
Just change the code in the editor and rerun the script (use the terminal’s history) to see updated images.
The main idea
My source code is irrelevant. Read the wiki and implement your own renderer. Only when you suffer through all the tiny details, you will learn what is going on.
In this series of articles, I want to show how OpenGL works by writing its clone (a much simplified one). Surprisingly enough, I often meet people who cannot overcome the initial hurdle of learning OpenGL / DirectX. Thus, I have prepared a short series of lectures, after which my students show quite good renderers.
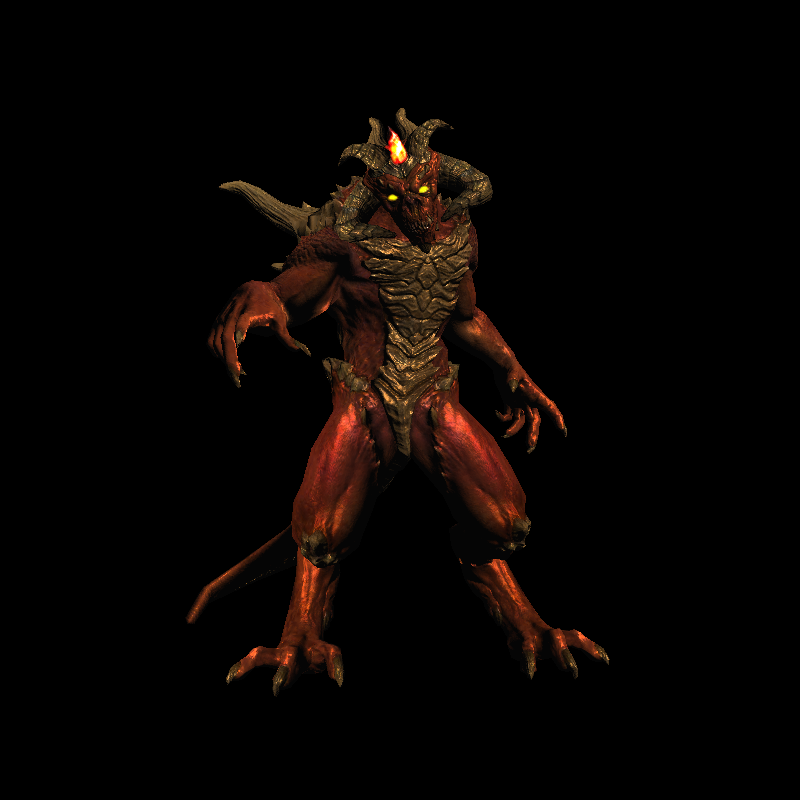
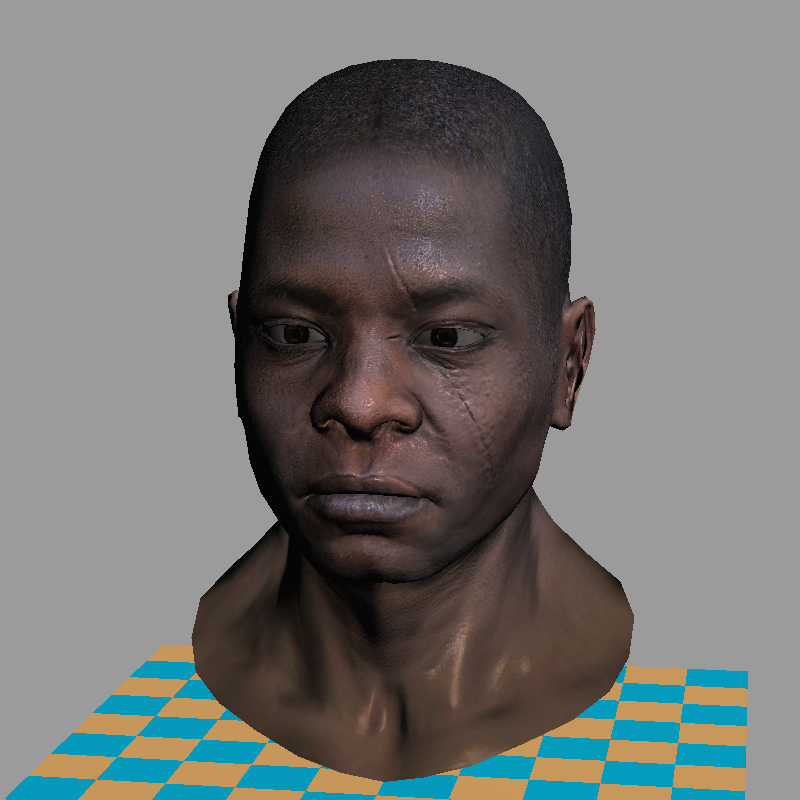
So, the task is formulated as follows: using no third-party libraries (especially graphic ones), get something like this picture:
Warning: this is a training material that will loosely repeat the structure of the OpenGL library. It will be a software renderer. I do not want to show how to write applications for OpenGL. I want to show how OpenGL works. I am deeply convinced that it is impossible to write efficient applications using 3D libraries without understanding this.
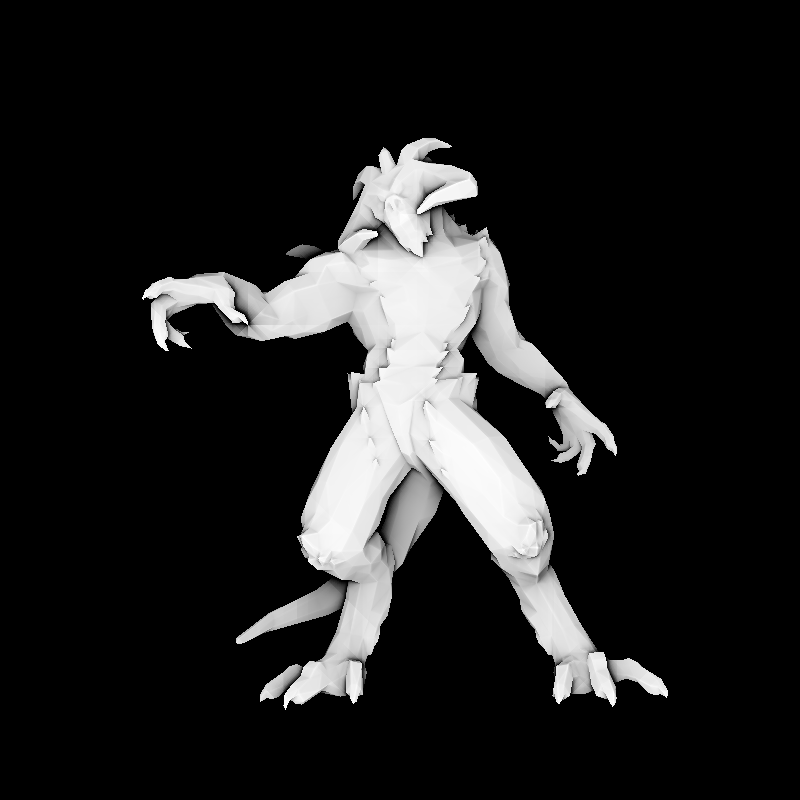
I will try to make the final code about 500 lines. My students need 10 to 20 programming hours to begin making such renderers. At the input, we get a test file with a polygonal wire + pictures with textures. At the output, we’ll get a rendered model-no graphical interface, and the program simply generates an image.
Since the goal is to minimize external dependencies, I give my students just one class that allows working with TGA files. It’s one of the simplest formats that supports images in RGB/RGBA/black and white formats. So, as a starting point, we’ll obtain a simple way to work with pictures. You should note that the only functionality available at the very beginning (in addition to loading and saving images) is the ability to set one pixel’s color.
There are no functions for drawing line segments and triangles. We’ll have to do all of this by hand. I provide my source code that I write in parallel with students. But I would not recommend using it, as this doesn’t make sense. The entire code is available on GitHub, and here you will find the source code I give to my students.
#include "tgaimage.h"
const TGAColor white = TGAColor(255, 255, 255, 255);
const TGAColor red   = TGAColor(255, 0,   0,   255);
int main(int argc, char** argv) {
        TGAImage image(100, 100, TGAImage::RGB);
        image.set(52, 41, red);
        image.write_tga_file("output.tga");`
        return 0;
}
output.tga should look something like this:
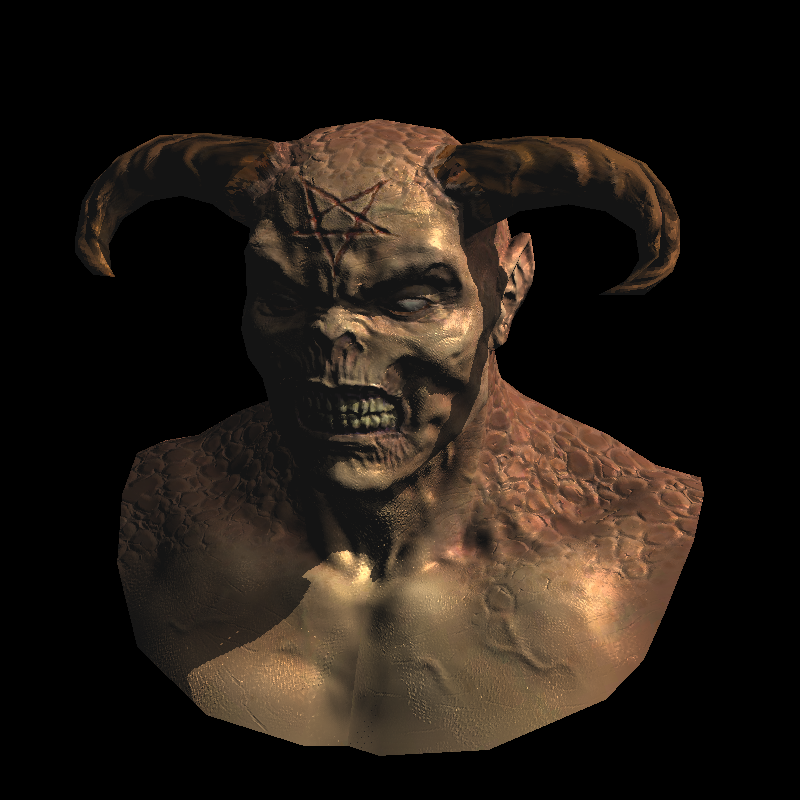
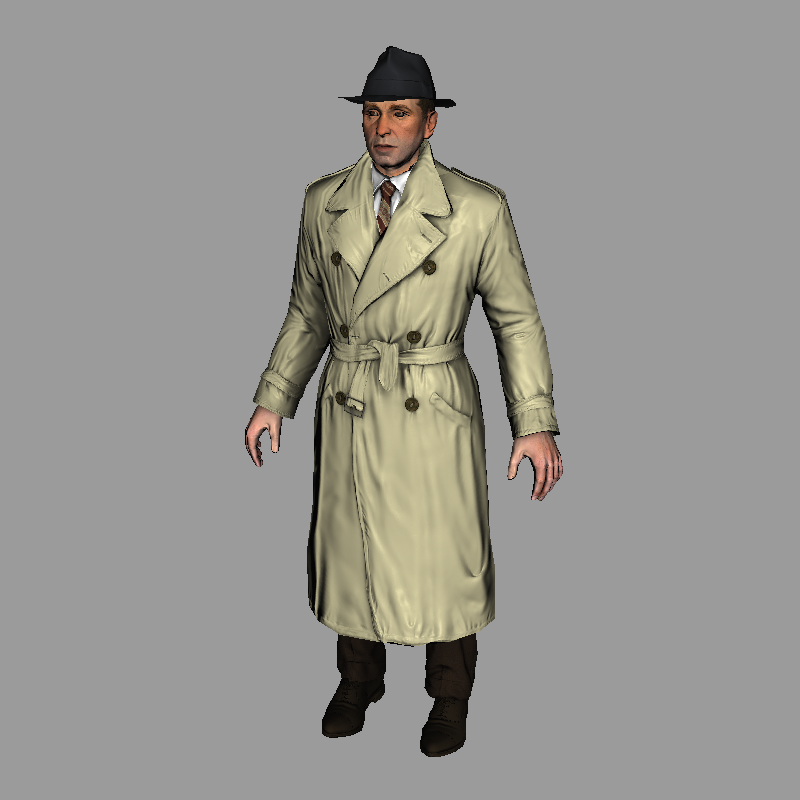
Teaser: few examples made with the renderer